Fully automated VMware ESX installation on bare metal with openQRM Enterprise
This How-To will explain how to fully automate provisioning of VMware ESX to bare-metal systems (physical server) with openQRM without touching the hardware once and without any manual interaction needed.
Requirements
- One (or more) physical Server
- at least 1 GB of Memory
- at least 100 GB of Diskspace
- VT (Virtualization Technology) enabled in the Systems BIOS so that the openQRM Server can run Virtual Machines later
- Debian Installation on a physical Server
NOTE:
For this How-To, we assume you have successfully installed openQRM and have at least referenced our Cloud Computing with openQRM on Debian How-To before. If not, it is highly suggested to complete both before continuing
For demonstration, we are using the same example server as we did in our Install openQRM on Debian How-To.
1. Enable plugins
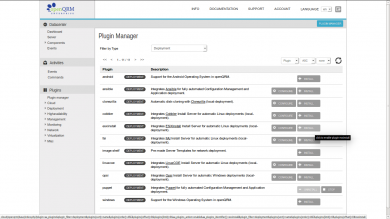
In the openQRM Plugin Manager please enable and start the following plugins in the sequence below:
dns plugin - type Networking
dhcpd plugin- type Networking
tftpd plugin - type Networking
network-manager plugin - type Networking
local-server plugin - type Misc
device-manager plugin - type Management
novnc plugin - type Management
sshterm plugin - type Management
nfs-storage plugin - type Storage
vmware-esx plugin - type Virtualization
esxinstall plugin - type Deployment
In the plugin manager click on "install" of the esxinstall plugin.
The esxinstall plugin is now installed.
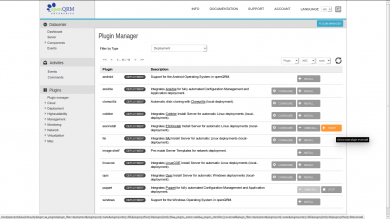
Click on "start" of the esxinstall plugin.
The esxinstall plugin is now enabled and started.
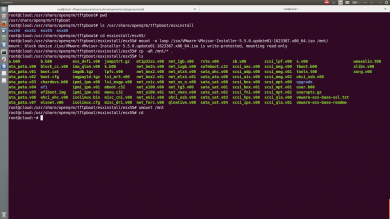
After enabling the plugins please copy the content of the VMware ESX installation ISO files to /usr/share/openqrm/tftpboot/esxinstall/esx[ESX-version]/
2. Enable PXE boot on the second system dedicated for VMware ESX
Set the second system dedicated for OpenStack to the following boot-sequence in the system bios:
- network-boot (PXE)
- boot from first hard drive
- disabled
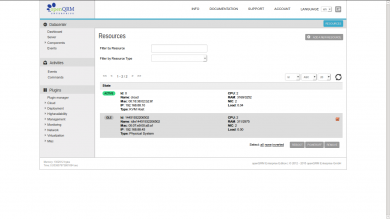
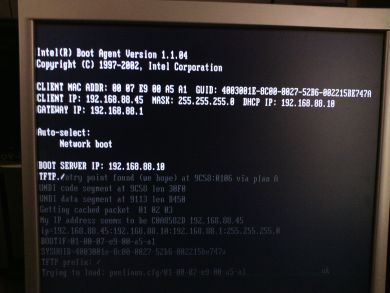
Then reboot it to automatically integrate it into openQRM via PXE network-boot
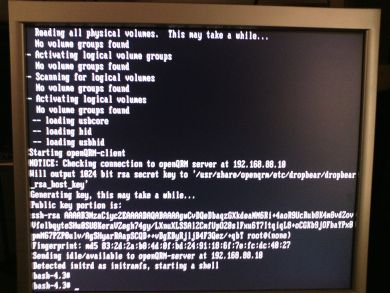
Here a screenshot of the system network-booted into openQRM
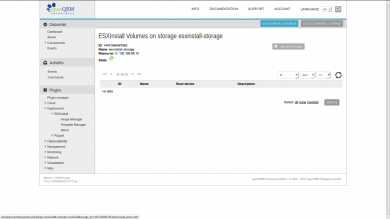
Now go to Plugins -> Deployment -> ESXInstall -> Image Manager and select the automatically created esxinstall-storage.
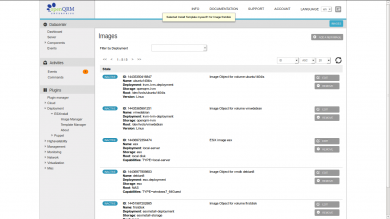
In the Image Overview click on "Add new Volume".
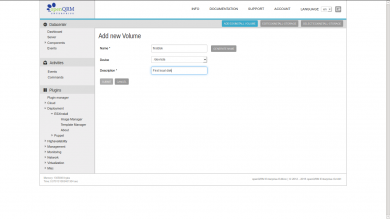
Fill in a custom name and description. Then click on 'submit'.
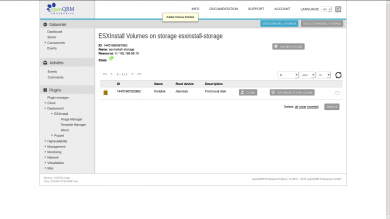
This created a new ESXInstall Image in openQRM.
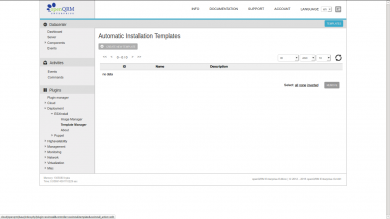
Now go to Plugins -> Deployment -> ESXInstall -> Template Manager and click on "Create new template".
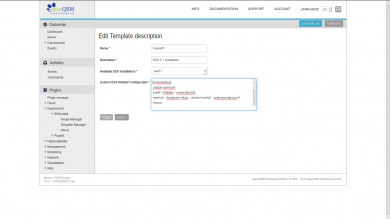
Provide a custom template name and description, select the ESX version to auto-install and edit the kickstart-template according your requirements and preferences. The click on "submit".
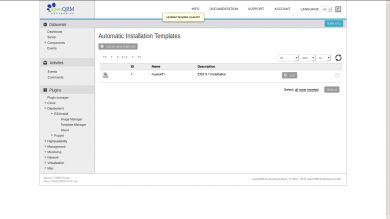
This created a new ESX install template.
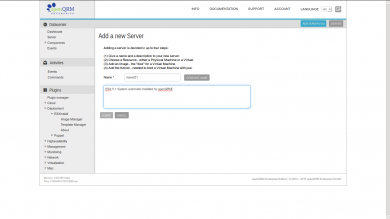
Now we create a new server object.
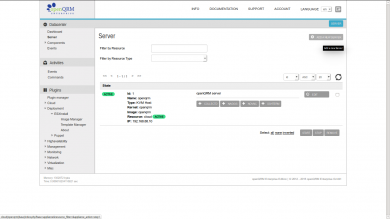
Go to Base -> Server and click on "Add new server".
Provide a name and description in the first step of the wizard.
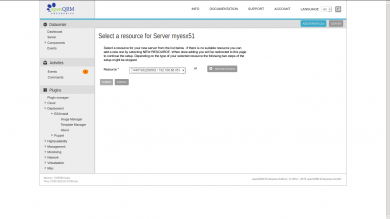
In the second step please select the resource object of the PXE/network-booted, physical system dedicated for the ESX installation.
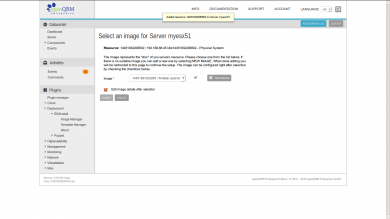
In the third step please select the previously created ESXInstall Image.
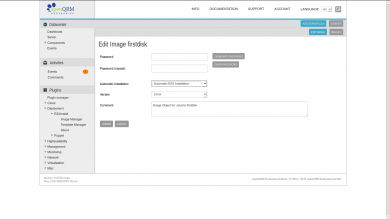
In the Edit-Image screen please select "Automatic ESX Installation" for the "Automatic Installation" option.
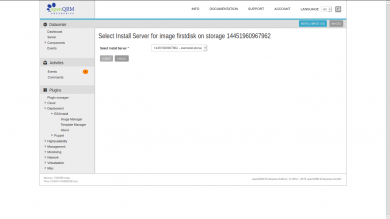
Here select the ESXInstall Storage object.
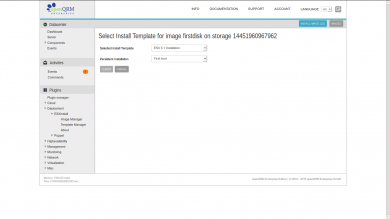
And here you define which ESX automatic installation profile will be attached to the Image.
This forwards to the Image overview. Please go back to Base -> Server.
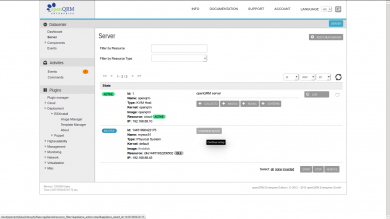
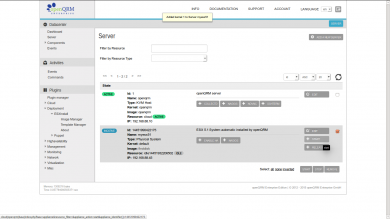
In the server overview please click on "Continue setup".
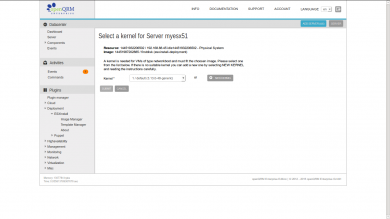
Here define the "default" kernel to the server object.
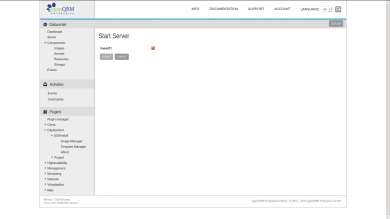
This forwards to the server overview again. Click on "Start" of the new created server object.
And confirm the starting action.
The server now gets activated and its resource gets into transition state for the automatic installation.
Here the physical system rebooting via PXE into the automatic ESX installation.
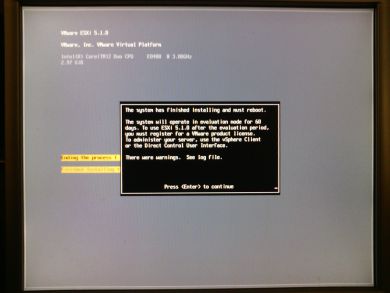
You should see this message when the installation successfully finished just before the automatic reboot. Note that it will reboot itself without the need to press after a short timeout.
Note: It will still use PXE but the PXE configuration will make it boot locally from its first local disk.
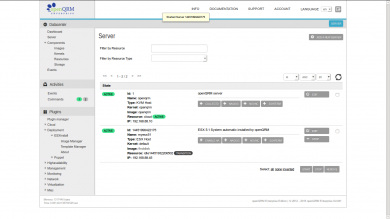
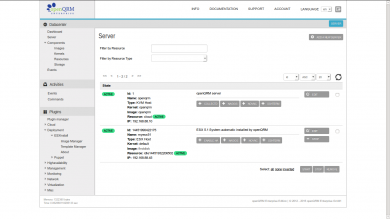
In the server overview the server and resource object of the ESX system are now active.
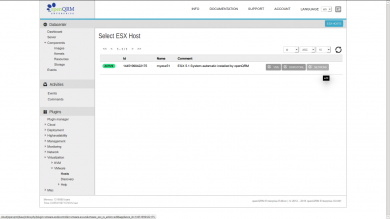
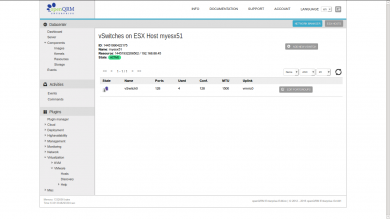
Now click on Plugins -> Virtualization -> VMware -> Hosts and click on "Network" of the fresh installed ESX system.
Note: This step requires to have the VMware PERL SDK/API installed on the openQRM server as described in the Virtualization with VMware ESX on openQRM How-To
This will show the vSwitch configuration of the ESX system and it means that it is now fully ready to be managed by openQRM.
Troubleshooting
The automatic-installation Image actions, if not configured "persistent", are "one shot" actions. That means they are only executed once!
If something goes wrong during the installation following the above steps the recommended way to solve it is to follow the steps below:
- Stop the server object
- Remove the server object
- Force remove the resource (the system dedicated for the ESX installation)
- Reboot the resource, (the system dedicated for the ESX installation)
- Recreate the server object following this How-To
This will ensure activating the automatic installation Image action again.
Congratulations!!
You have successfully completed this How-To!
