Cloud Computing with openQRM
This How-To is about how to create a private Cloud with a fully automated self-service for server deployments on Debian with openQRM. With openQRM Cloud several different virtualization and deployment technologies are supported. This HowTo explains a popular use case based on KVM Virtualization. Anyway this How-To works in the same way for other virtualization technologies e.g. Citrix XenServer, VMware ESX, Xen, LXC, Libvirt, openVZ etc.
Requirements
- One physical Server - at least 1 GB of Memory
- at least 100 GB of Diskspace
- VT (Virtualization Technology) enabled in the Systems BIOS so that the openQRM Server can run Virtual Machines later
- A minimal Debian installation on a physical server
- openQRM to be installed
NOTE
- If you do not already have openQRM fully installed, follow this How-To to do so
- For this How-To, we also assume you are using the same openQRM server (updated to version 5.1.3) as for the How-To about 'Virtualisation with KVM and openQRM on Debian' and 'Automated Amazon EC2 Cloud deployments with openQRM on Debian'. That means with this How-To we are going to add functionality to an existing openQRM setup. This is to show that openQRM manages all different virtualisation and deployment types seamlessly.
About Cloud Computing (IAAS) in openQRM
openQRM is based on a very generic and consistent workflow architecture. The main concept behind this is that every action in openQRM is triggered by an event in openQRM and implemented by one or more plugins to actually apply the action for a specific technology or tool. That means that the responsibility for every command in openQRM is being handed over to one or more plugins which then actually "do the work". This way all workflows in openQRM are abstracted independent which underlaying technology or tools are used.
For the fully automated Cloud deployments this means that the openQRM "just" needs to create a "Server" object based on the available resources (VMs, Images, Kernels, Applications etc.) plus adding the user requested SLA (applications, monitoring, highavailability etc.). The actual workflow is exactly the same as for manual deployment by an Administrator.
It also means that EVERY virtualiaztion and deployment types are automatically supported for openQRM Cloud deployment!
Here's a list of features and technologies supported by openQRM Cloud:
- Citrix XenServer Virtualization
- KVM Virtualization
- VMware Virtualization
- Libvirt Virtualization
- LXC Virtualization
- openVZ Virtualization
- Physical System deployment
- Any kind of storage types
- Any kind of automatic-installation (FAI, Cobbler, LinuxCOE, Opsi)
- Any modern Linux AND Windows OS
- Automated Monitoring (Nagios, Icinga, Zabbix)
- Fully automated High availability for all VM types and physical Systems
- Automated statistics available for Administrators and Cloud Users
- Mapping different hardware-pools to specific Cloud User Groups
- Integrated billing system with virtual currency - easily integratable into any modern accounting system (e.g. Quickbooks, SAP)
- Provides a robust Cloud API to make the integration into custom business processes easy
- NOT limited to AMI (Amazon Machine Image) deployments
- Fully integrated with external Cloud providers for hybrid cloud computing (e.g. Amazon EC2, Eucalyptus)
Some of the additional available openQRM Enterprise features are:
- Automated IP address assignment, mapping of network-pools to Cloud User Groups
- openQRM Enterprise Cloud Zones - a central front-end for multiple openQRM Cloud in different locations
- Automated VLAN Management for Virtual Machine deployments in the openQRM Cloud
- Automated Documentation for regular and Cloud deployment with i-doit
- E-commerce System integration - selling the openQRM Cloud currency via Magento and/or Virtuemart
- Central User Management via LDAP/AD
- Fine grained permission management for the openQRM Server backend - maps your business topology into openQRM Simple access to the Cloud system for the Cloud Users by an embedded SSH Terminal
Everything above (and more) is fully supported by the openQRM Cloud!
1. Enabling Plugins
Hint: You can use the filter in the plugin list to find plugins by their type easily!
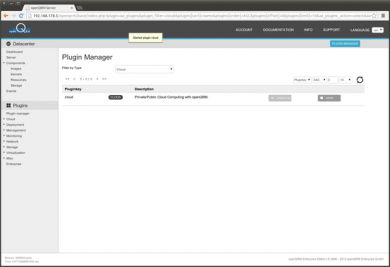
In the openQRM Plugin Manager please make sure to enable and start the following plugins in the sequence below:
- dns plugin - type Networking
- dhcpd plugin - type Networking
- tftpd plugin - type Networking
- network-manager plugin - type Networking
- local-server plugin - type Misc
- device-manager plugin - type Management
- novnc plugin - type Management
- sshterm plugin - type Management
- linuxcoe plugin - type Deployment
- puppet plugin - type Deployment
- kvm plugin - type Virtualization
- cloud plugin - type Cloud
Assuming you have started this How-To from 'Virtualization with KVM and openQRM 5.1 on Debian Wheezy' just the puppet and cloud plugin needs to be enabled and started. The other plugins should be already setup from the previous How-To.
Assuming you have also done the How-To about 'Automated Amazon EC2 Cloud deployments with openQRM 5.1 on Debian Wheezy' just the cloud plugin needs to be enabled and started.
2. Main openQRM Cloud configuration
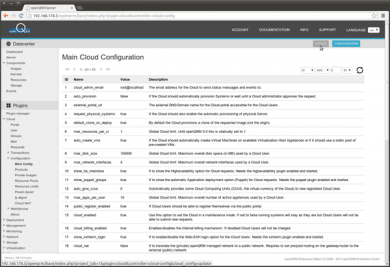
Go to Plugins -> Cloud -> Configuration -> Main Config and click on update
Configure (at least) the following items
1: cloud_admin_email - you mail address (default root@localhost on the openQRM server)
2: auto_provision - true
21: show_private_image - true
Optional there are a lot more items which can be configured. Here's a few useful configuration options:
3: external_portal_url - the external DNS/Domain name for the Cloud portal accessible for the Cloud Users.
23: cloud_currency - USD or Euro
24: cloud_1000_ccus - The real currency to which the virtual Cloud currency (CCUs) are mapped to.
41: vm_loadbalance_algorithm - Loadbalancing-Algorithm for Virtuel Machines. 0 = Load, 1 = Memory, 2 = Random, 3 = First available Host until Host VM-Limit is reached.
An explanation about each configuration item is available in the Main configuration overview.
3. openQRM Cloud products
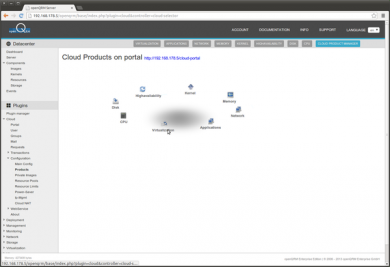
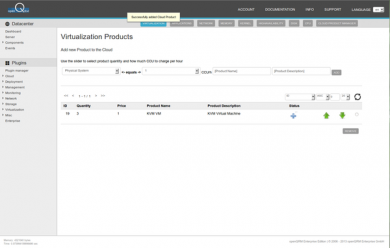
Go to Plugins -> Cloud -> Configuration -> Products and click on virtualisation
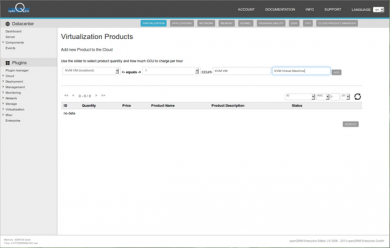
Add a new Virtualisation product 'KVM VM (localboot)', set a price (in CCU -> Cloud Computing Units, the virtual currency of openQRM Cloud), a product name and description.
Then click on submit
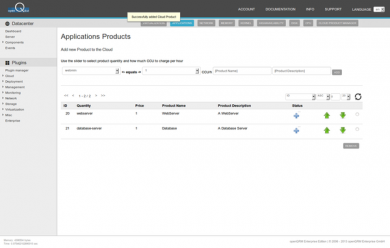
In the same way various other cloud products can be added and managed through the product categories. e.g. adding a database application product in the application category.
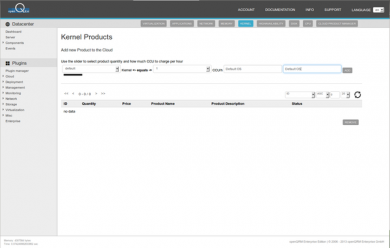
Please make sure to add a 'Default OS' using the 'default' kernel in the Kernel category.
Adding and configuring more products is optional. For this How-To we go on with the defaults in the other products categories.
4. Private Cloud Images
Go to Plugins -> Cloud -> Configuration -> Private Images
NOTE
Assuming you have started this How-To from 'Virtualization with KVM and openQRM 5.1 on Debian Wheezy' a pre-configured and pre-installed 'kvm-lvm-deployment' Image should be available. Please make sure to have this KVM VM Image integrated with the 'openqrm-local-vm-client' and that the 'openssh-server' packages is installed!
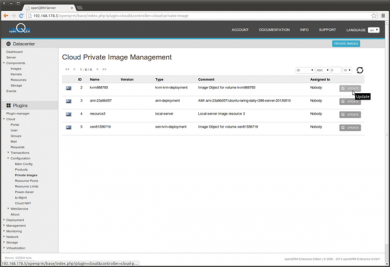
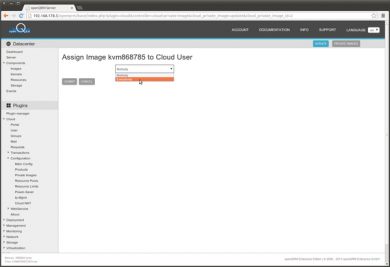
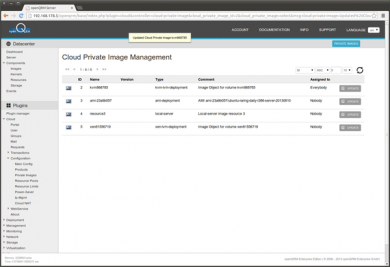
Here we select the Image ID 2 - kvm868785 (the name may be different in your setup) previously created in the previous howto. Please click on update button of the 'kvm-lvm-deployment' Image.
Set this 'kvm-lvm-deployment' Image to 'Everybody'.
Then click on submit
Images can be also assigned to certain Cloud Users which is the functionality behind the private-image feature.
5. Setup the resource pools
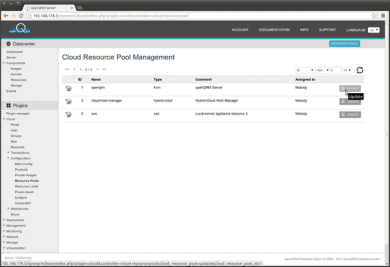
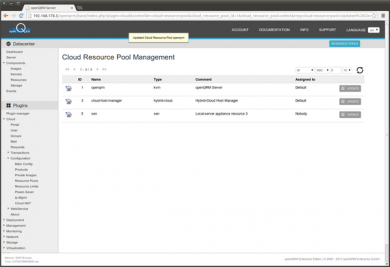
Go to Plugins -> Cloud -> Configuration -> Resource Pools and click on update of the openQRM server system which is already configured as KVM Virtualization Host from the previous How-To.
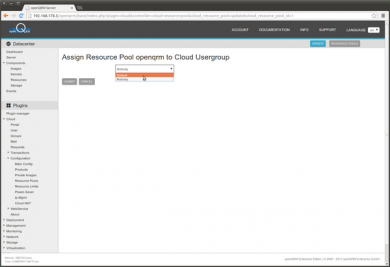
Update the resource pool of the openQRM Server KVM Host system to 'Default', a pre-created Cloud User group. The resource pool feature allows to assign certain hardware (Virtualization Host) to specific Cloud User groups. For this How-To we are going to use the 'Default' Cloud User group which now has the openQRM Server KVM Host system assigned to to. Select the 'Default' Cloud User group.
Then click on submit
6. Creating Cloud Users and Groups
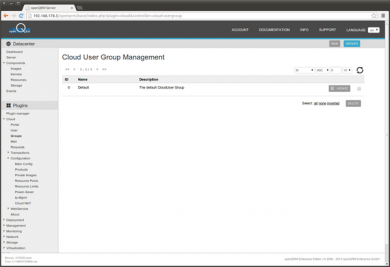
Go to Plugins -> Cloud -> Groups
This dialog allows to create further Cloud User groups to map your business topology against the available hardware via the resource pool feature. For this How-To we are going to use the 'Default' Cloud User group.
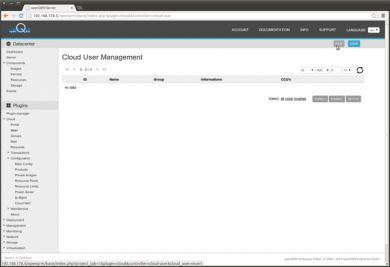
Go to Plugins -> Cloud -> Users and click on new
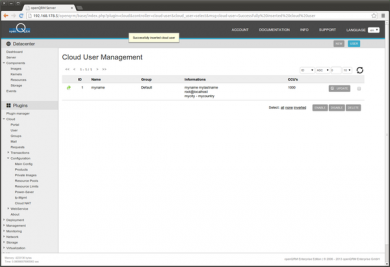
Fill in the credentials and make sure to assign some CCUs to the Cloud User.
Then click on submit
7. Login to the openQRM Cloud Portal
Go to Plugins -> Cloud -> Portal
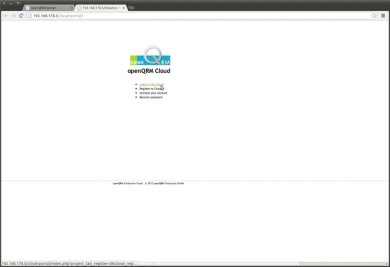
This opens a new browser window with the login to the openQRM Cloud portal.
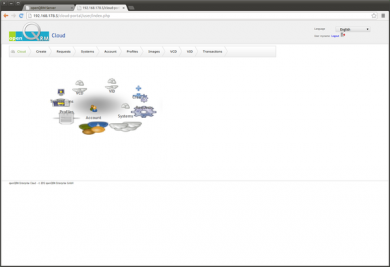
Click on 'Login to the Cloud' and provide the credentials of the previous created Cloud User. Here the welcome screen of the openQRM Cloud Portal.
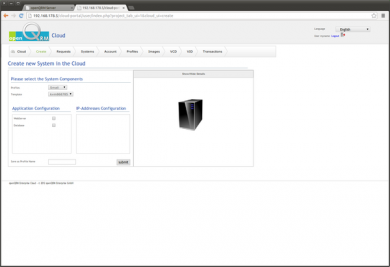
Click on create to submit a new request to the openQRM Cloud.
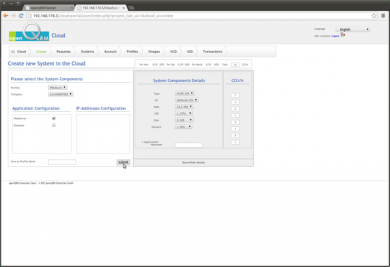
Click on Show/Hide Details to configure more details for automated deployment.
Adapt the settings to your needs and optional include one of the configured applications. Then click on submit.
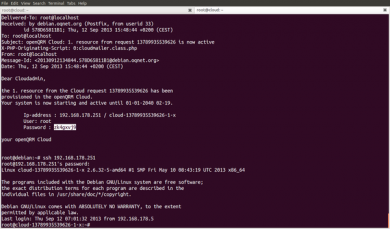
Assuming the openQRM Server has a valid mail setup it will shortly send out a mail to the Cloud User with the login credentials. Having no valid mail setup the mail will simply end up in the local mail queue in /var/spool/mail/*. Here the mail which was send to the Cloud User for the Cloud deployment. The credentials are directly used to login to the new created system.
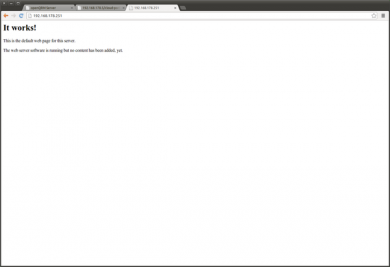
The selected Webserver application for the Cloud request got automatically deployed and the webserver is running after full start-up of the system.
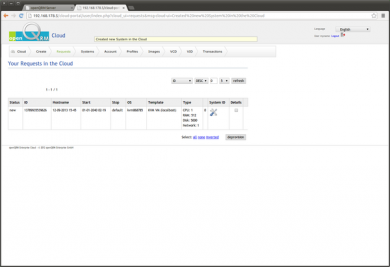
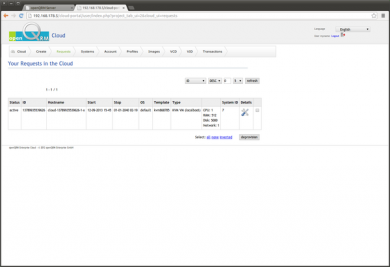
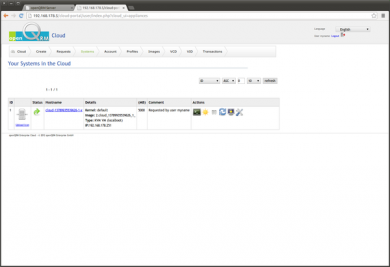
The Cloud request is now marked as active
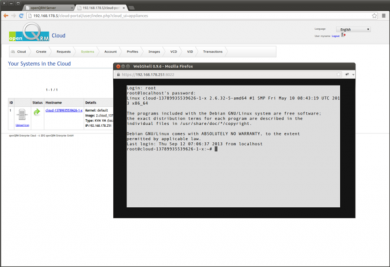
In the System Overview for the Cloud User click on the console button. This opens a new Pop-up windows (please make sure to allow pop-ups for the openQRM server site) with a SSH login to the new created Cloud system.
Here's a screenshot of the Cloud Users fully logged into the new created VM.
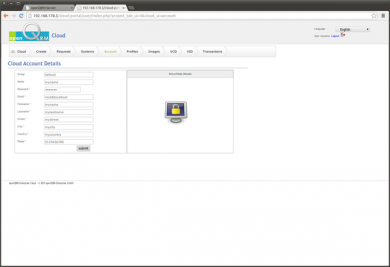
Through the Account menu option the Cloud User can update his own details.
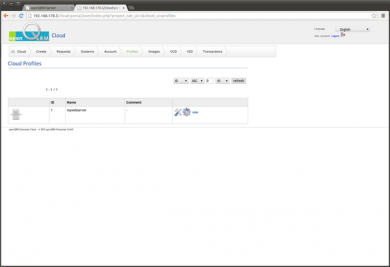
A Cloud request can be also saved as a profile. Here's the profile overview with a profile created similar to the previous submitted Cloud request.
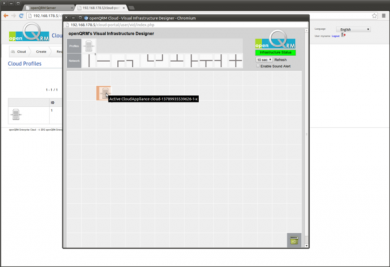
Cloud profiles can be used with the Visual Infrastructure Designer (VID). By simply placing a profile on the virtual datacentre area the automated Cloud deployment is triggered and the system is on going to be deployed immediately.
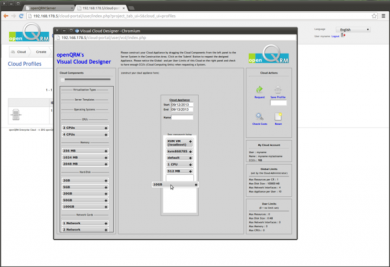
Cloud request and Cloud profiles can be also created via drag-and-drop with the Visual Cloud Designer (VCD). Simply drag the products from the list into the server and submit to create a new system in the openQRM Cloud.
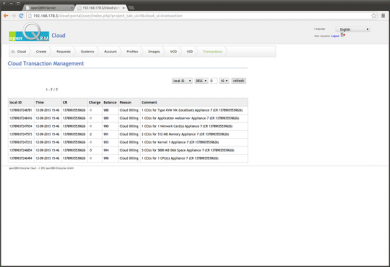
All Cloud transactions and billing information is available for the Cloud User (and of course also for the Administrator)
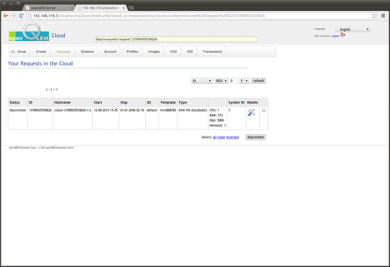
To deprovision (un-deploy) a Cloud request the Cloud User just has to set the specific Cloud request to 'deprovision'. This fully automatically stops and un-deploys the Cloud system. The openQRM Cloud then sends out another mail with the informations about the deprovisioning.
Congratulations!!! You have made it to fully automated deployment with a private openQRM Cloud!
Add more functionalities to your openQRM Setup
To continue and further enhance your openQRM KVM Virtualization Setup there are several things to do:
- Enable the high availability plugin to automatically gain HA for your server
- Enable the hybrid-cloud plugin to automate your Amazon EC2 and Eucalyptus deployments
- Enable further Virtualization plugins and integrate remote Virtulization hosts for a fully distributed Cloud environment
- Enable further Storage and Deployment plugins to automatically provision your Virtualization Hosts and other physical systems
- Enable Cloud Zones to split your openQRM Cloud(s) into multiple logical Cloud Zones
... and more.
