Connect Magento E-Commerce to openQRM Cloud
This How-To explains how to easily connect Magento E-commerce to openQRM-Cloud.
Install Magento on the openQRM Server
Login to a root console on to the openQRM server.
Change to the Apache Webserver document-root directory (on Debian/Ubuntu /var/www/, on RedHat/CentOS /var/http/html)
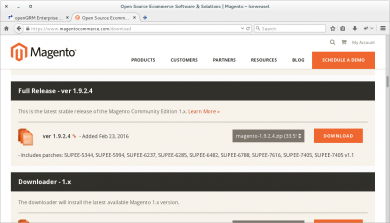
Download Magento 1.9.2.4 (latest stable 1.9 branch)
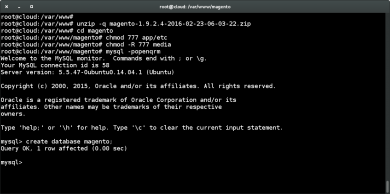
Unpack the downloaded Magento zip-file.
Login to the MySQL Database used by openQRM (and later Magento) and create a "magento" database.
Please see the commands below:
cd /var/www/
unzip magento-1.9.2.4-2016-02-23-06-03-22.zip
cd magento
chmod 777 app/etc
chmod -R 777 media
mysql -popenqrm
mysql> create database magento;
mysql> exit
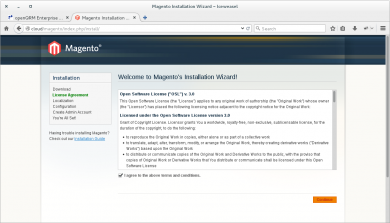
Open a web browser and start the Magento configuration at
http://your-openQRM-server-ip-address/magento/
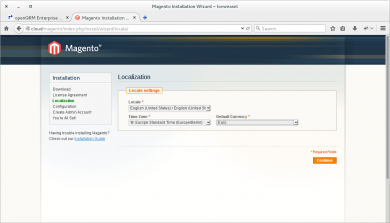
Configure Magento Localization
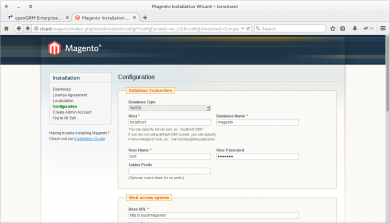
Configure the Magento database
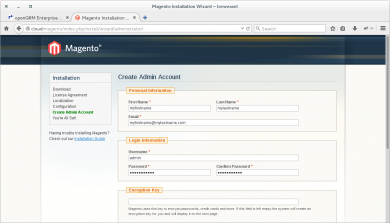
Setup the Magento Admin account
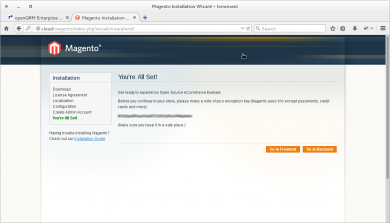
Finalized Magento installation and setup
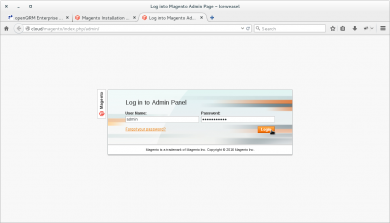
Login to the Magento Backend as "admin"
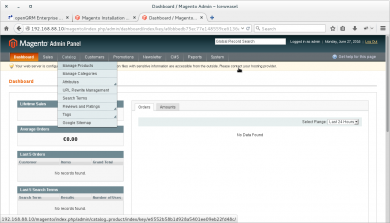
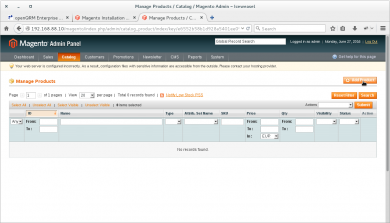
Click on "Manage Products" in the "Catalog" menu
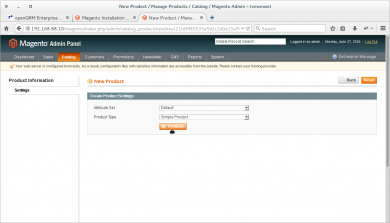
Add a new product
Choose "Simple Product"
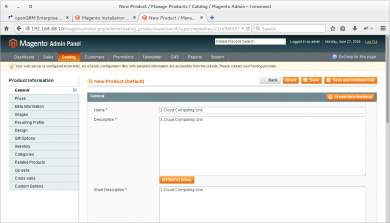
Name the product "1 Cloud Computing Unit"
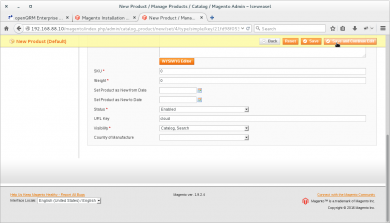
Further down add additional parameters for the product and make use its status is set to "enabled"
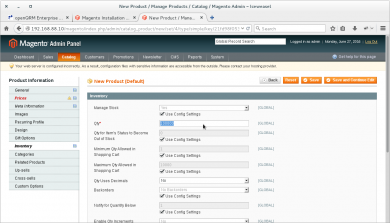
In the "Inventory" menu make sure to set a "Qty" (Quantity)
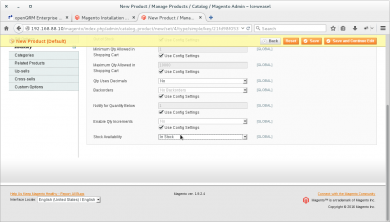
Further down in the "Inventory" section please make sure to set the "Stock availability" to "In Stock"
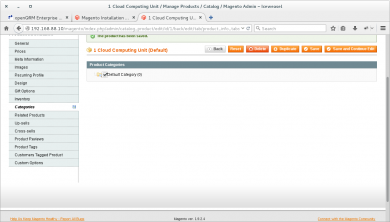
In the "Categories" section please enable the product for the "Default Category". Further configure the product to your needs and save.
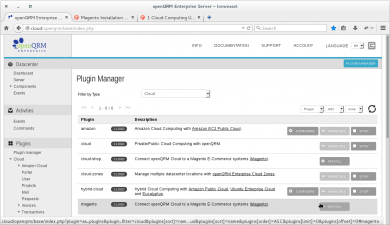
Go to the openQRM Servers Plugin Manager and install the "magento" plugin
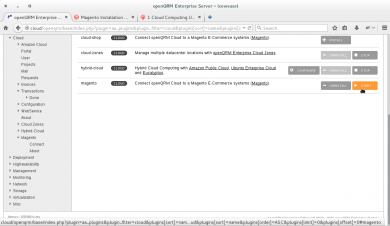
Start the "magento" plugin
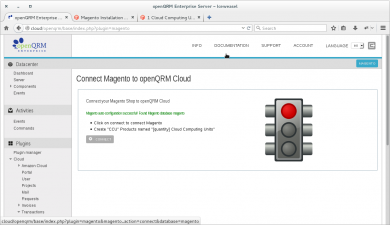
Go to "Plugins -> Cloud -> Magento -> Connect". This starts the auto-configuration for the connection.
Now click on "Connect". That's it!
The Magento E-commerce is now connected to the openQRM Cloud. User and Orders from Magento will be automatically synced now into the openQRM Cloud.
Testing
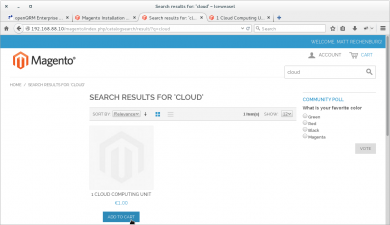
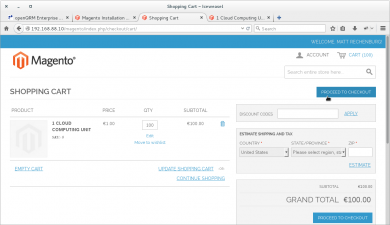
Go to the Magento Shop front-end and register as new user. Then add the previously created Cloud Computing Unit to the cart.
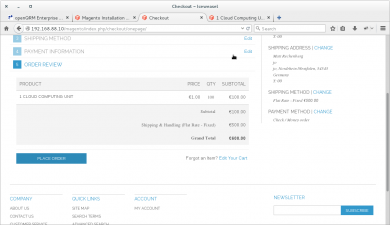
... and proceed to checkout.
... and place the order.
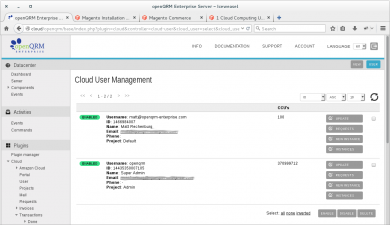
In the openQRM Cloud User Management the order is now synced and Cloud User is created/updated with Cloud Computing Units.
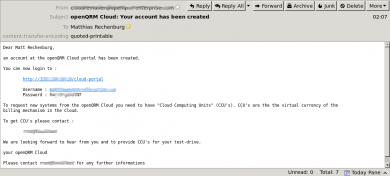
An email has also been sent to the new User with the openQRM Cloud portal credentials.
Congratulations!
You have successfully synced Magento E-Commerce with openQRM!
We hope you have enjoyed it!
