Difference between revisions of "Connect Mantis BugTracker to openQRM Cloud"
| Line 6: | Line 6: | ||
First go to the openQRM Server Plugin-Manager and configure the "mantis" plugin. | First go to the openQRM Server Plugin-Manager and configure the "mantis" plugin. | ||
[[File:01-mantis.png|none|thumb|390x390px|Server Plugin-Manager]] | [[File:01-mantis.png|none|thumb|390x390px|Server Plugin-Manager]] | ||
| − | Here the configuration options. It is safe to go on with the defaults. | + | Here's the configuration options. It is safe to go on with the defaults. |
[[File:02-mantis.png|none|thumb|390x390px|Leave configurations on default]] | [[File:02-mantis.png|none|thumb|390x390px|Leave configurations on default]] | ||
Now go to the openQRM Server Plugin-Manager and install the "mantis" plugin. | Now go to the openQRM Server Plugin-Manager and install the "mantis" plugin. | ||
| Line 38: | Line 38: | ||
Cloud Users now can easily login to the BugTracker with the same username/password credentials as for the openQRM Cloud. | Cloud Users now can easily login to the BugTracker with the same username/password credentials as for the openQRM Cloud. | ||
[[File:15-mantis.png|none|thumb|390x390px|Login using openQRM credentials]] | [[File:15-mantis.png|none|thumb|390x390px|Login using openQRM credentials]] | ||
| − | Here the logged in Cloud User ready to open a new ticket. | + | Here, the logged in Cloud User ready to open a new ticket. |
[[File:16-mantis.png|none|thumb|390x390px|Ready to open a new ticket]] | [[File:16-mantis.png|none|thumb|390x390px|Ready to open a new ticket]] | ||
Latest revision as of 13:30, 4 November 2020
This How-To explains how to easily connect Mantis BugTracker to openQRM-Cloud
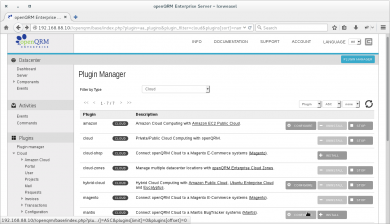
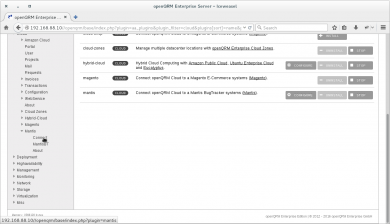
First go to the openQRM Server Plugin-Manager and configure the "mantis" plugin.
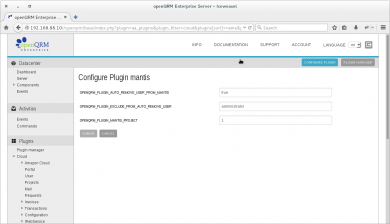
Here's the configuration options. It is safe to go on with the defaults.
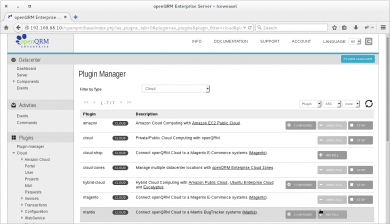
Now go to the openQRM Server Plugin-Manager and install the "mantis" plugin.
… and start it too.
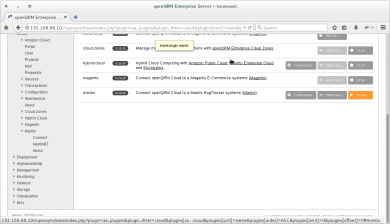
Within the "Cloud" plugin menu please find the new "Mantis" menu. Please click on "Connect".
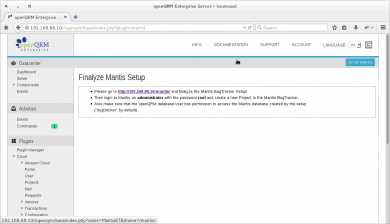
Next step is to finalize the Mantis setup which got automatically installed and pre-configured by openQRM.
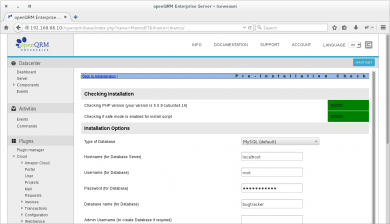
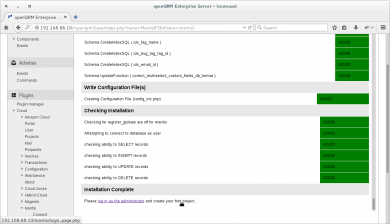
Finalise the Mantis setup.
Please make sure that the openQRM database user has access to the new created Mantis database ("bugtracker" by default)
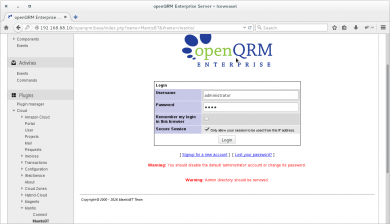
After completing the Mantis setup please login as "administrator" with the (default) password "root" and create a new project.
Login as "administrator" with the (default) password "root"
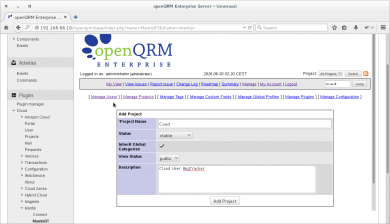
Now create a new project.
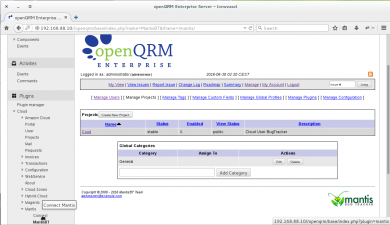
Project created. Please click on "Connect" again.
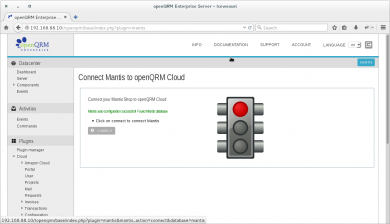
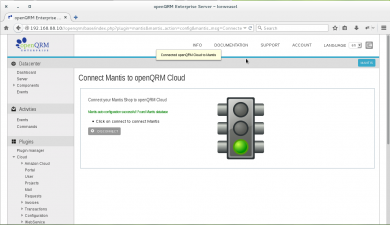
Click on the "Connect" button.
The Mantis BugTracker is now connected to openQRM Cloud.
New created Cloud User are now automatically created in the BugTracker.
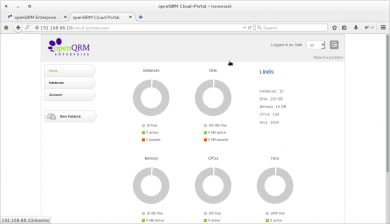
In the openQRM Cloud Portal a new link "Report a Problem" automatically appears on the upper right corner for all Cloud Users.
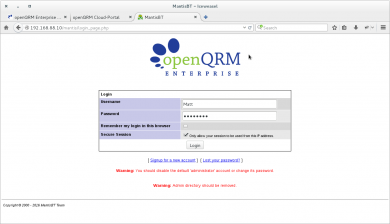
Cloud Users now can easily login to the BugTracker with the same username/password credentials as for the openQRM Cloud.
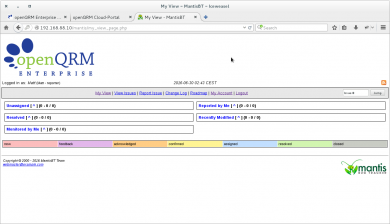
Here, the logged in Cloud User ready to open a new ticket.
Congratulations!
You have successfully completed this How-To!
We hope you have enjoyed it!
